What you need
You typically needs :
- editor
- compiler/linker
- IDE
Windows
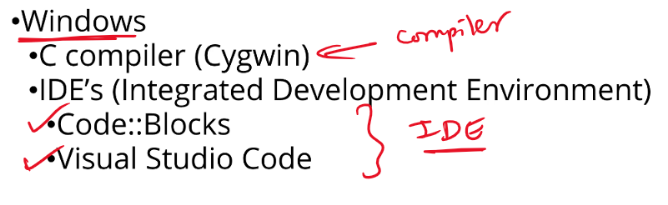
Installing C compiler – Windows
Ref notes – 2.6 Installing C compiler – Windows (Web view)
Set PATH – Setup PATH correctly (Web view)
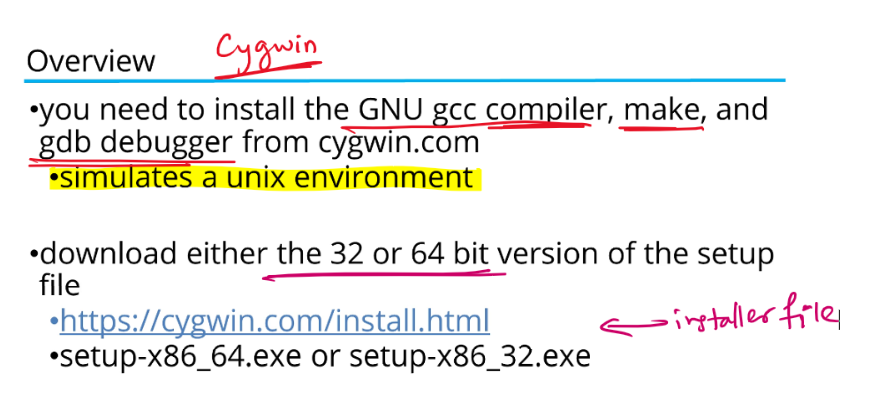
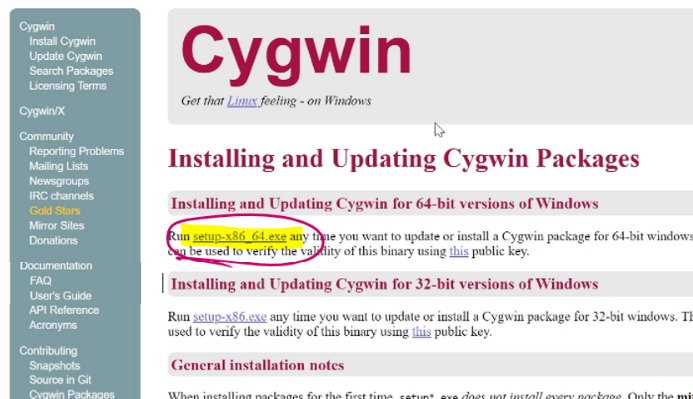
Download the installer file :
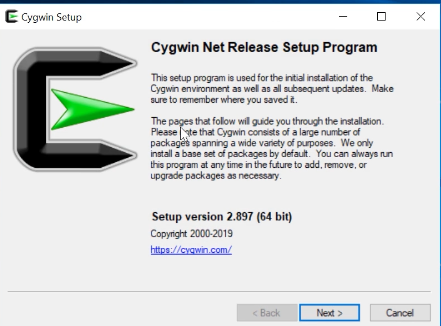
Once the download is complete, double click on it to run the installer file. You can continue with all the default selections.
During the installation process, it will ask you to select the packages. We basically need 3 packages.
- gcc-core
- gdb
- make
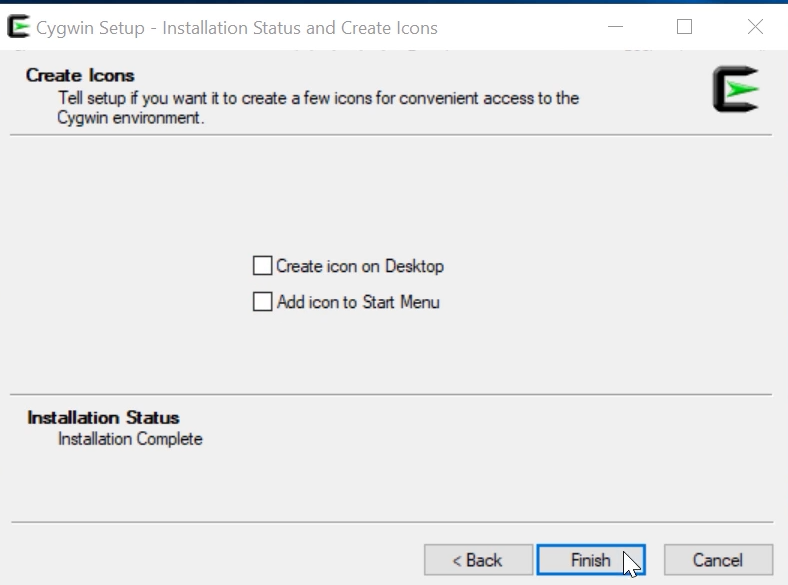
After the installation is done, you see a message like this :
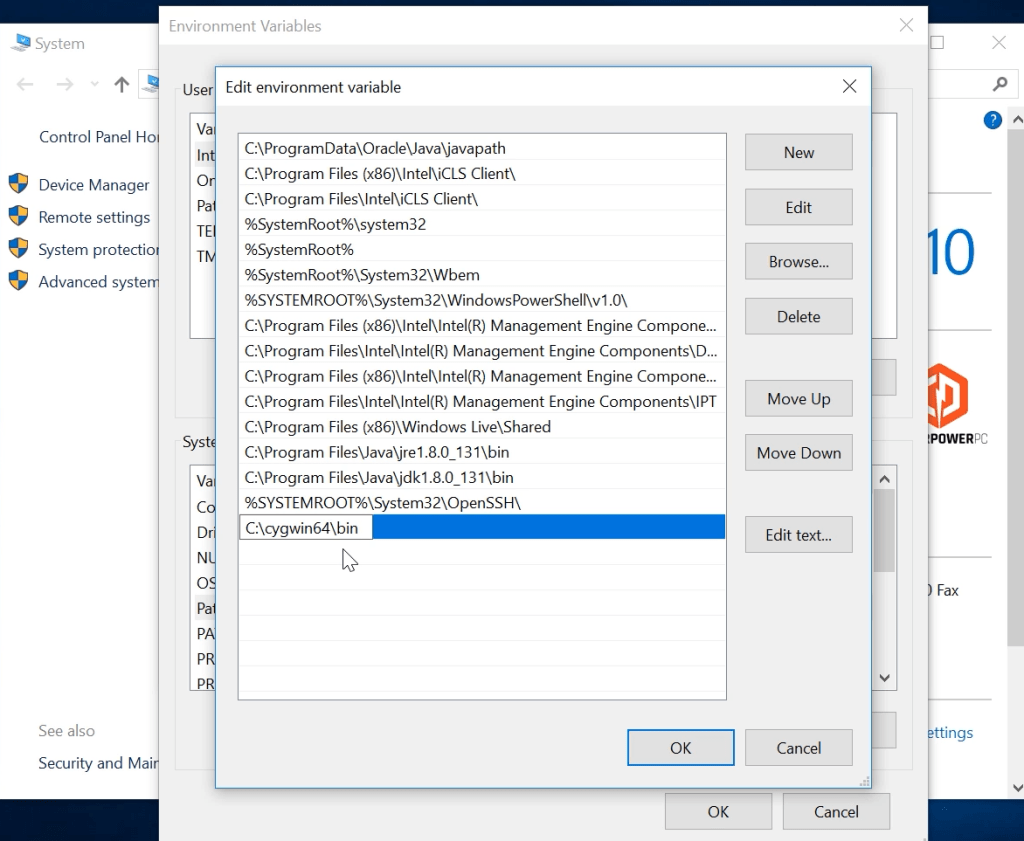
We need to ensure PATH is setup correctly so that gcc can be accessed from command line. [Default path : c:\cygwin64\bin ]
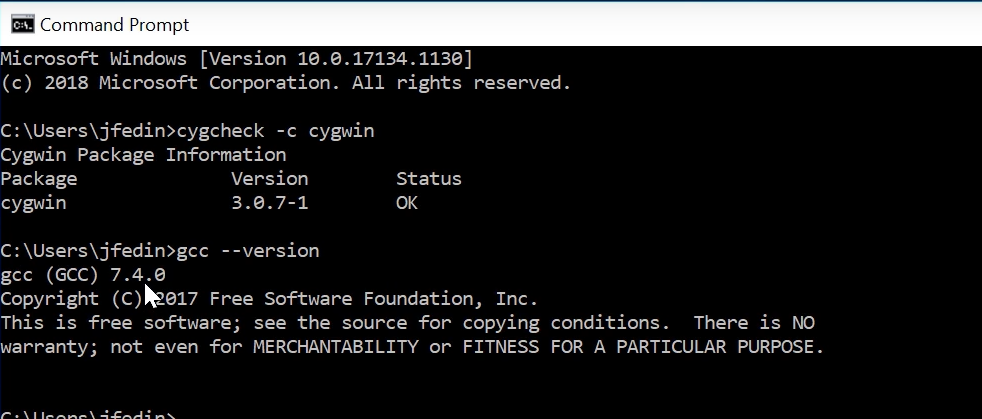
We can verify if gcc can be accessed from command line or not : gcc –version
Installing Code Blocks IDE
–> Check this link – https://rndayaladotcom.wordpress.com/c-download-install-codeblocks-ide/
Ref notes – 2.8 Installing Code Blocks IDE – Windows (Web view)
Test settings on Code Blocks IDE (Web view)
3.15 Creating Project in Code Blocks (Web view)
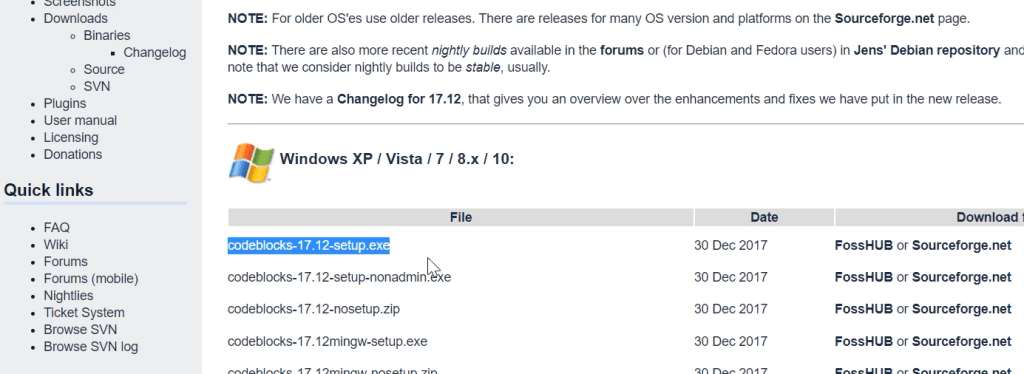
NOTE – If you need, you can actually download the installer file that also includes gcc/g++ compiler and GDB debugger.
Installing CodeLite IDE
Ref notes – 2.9 Installing CodeLite – Windows (Web view)
To install CodeLite IDE on Windows, follow these steps:
- Download the CodeLite installer for Windows from the official website: https://downloads.codelite.org/
- Run the downloaded installer. If prompted, choose the language and click “OK”.
- In the setup wizard, click “Next” to continue.
- Read and accept the license agreement, then click “Next”.
- Choose the destination folder where you want to install CodeLite, then click “Next”.
- Choose the components you want to install. The default options are recommended for most users. Click “Next” to continue.
- Choose the start menu folder where you want to create a shortcut for CodeLite, then click “Next”.
- Choose the additional tasks you want to perform. The default options are recommended for most users. Click “Next” to continue.
- Click “Install” to begin the installation process.
- Wait for the installation process to complete. This may take a few minutes.
- Once the installation is complete, click “Finish” to exit the setup wizard.
- CodeLite should now be installed on your Windows computer. You can launch it from the start menu or desktop shortcut
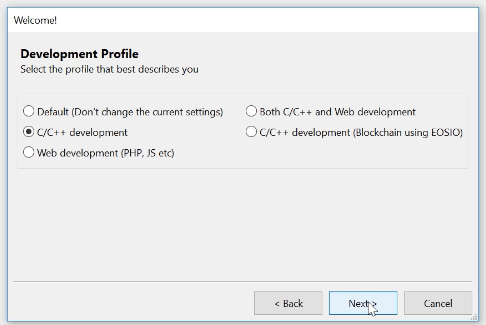
After you install and you launch code lite for the first time, you can choose the development profile.
Then, it will ask you to scan for compilers.
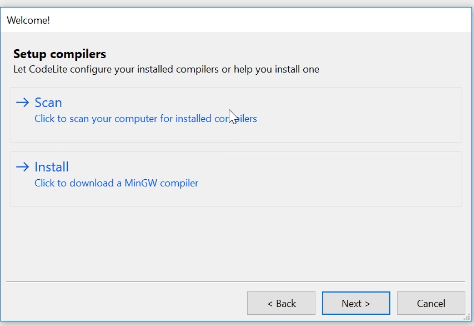
You can check this link – if you want to manually add a New compiler to CodeLite IDE – https://wiki.codelite.org/pmwiki.php/Main/AddNewCompiler
How to create a workspace, project, other details – Check this video – https://www.udemy.com/course/advanced-c-programming-course/learn/lecture/17961864#overview
Installing Visual Studio Code IDE
Ref notes –
2.11 Installing Visual Studio Code – Windows (Web view)
3.16 Exploring Visual Studio Code environment (Web view)
3.17 Working with Visual Studio Code IDE (Web view)
To install Visual Studio Code on Windows, follow these steps:
- Download the Visual Studio Code installer for Windows from the official website: https://code.visualstudio.com/
- Run the downloaded installer. If prompted, choose the language and click “OK”.
- In the setup wizard, click “Next” to continue.
- Read and accept the license agreement, then click “Next”.
- Choose the destination folder where you want to install Visual Studio Code, then click “Next”.
- Choose the additional tasks you want to perform. The default options are recommended for most users. Click “Next” to continue.
- Click “Install” to begin the installation process.
- Wait for the installation process to complete. This may take a few minutes.
- Once the installation is complete, click “Finish” to exit the setup wizard.
- Visual Studio Code should now be installed on your Windows computer. You can launch it from the start menu or desktop shortcut.
- Upon first launch, Visual Studio Code will prompt you to install some recommended extensions. You can choose to install them or skip this step and install them later from the Extensions marketplace.
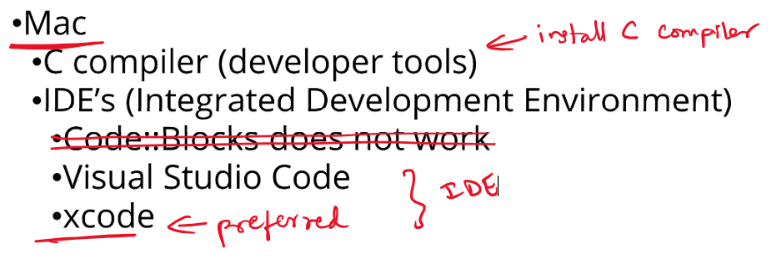
Mac
2.7 Installing C compiler – Mac OS (Web view)
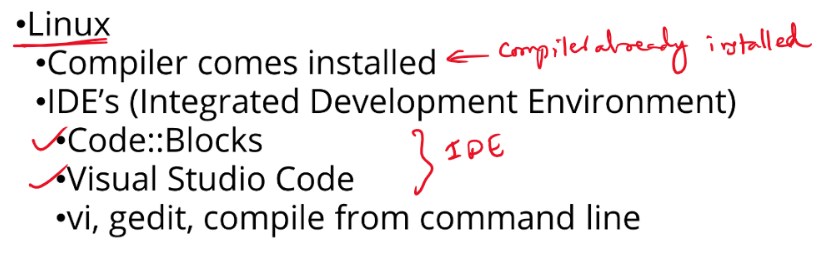
Linux
 Bits, Bytes and Brains