What is Eclipse IDE
Eclipse is an Integrated Development Environment (IDE) that is widely used by developers for Java development, although it supports various other programming languages as well.
It offers a range of features and tools that make Java programming more efficient and productive. Here are some key features of Eclipse IDE for Java development:
- Code Editing: Eclipse provides a powerful code editor with features like syntax highlighting, code completion, and code templates. It also supports automatic formatting and refactoring to improve code readability and maintainability.
- Integrated Debugger: Eclipse includes a debugger that allows you to step through your code, set breakpoints, inspect variables, and analyze the flow of your program during runtime, helping you identify and fix bugs.
- Build and Compilation Tools: Eclipse integrates with build tools like Apache Maven and Ant, allowing you to manage dependencies, build projects, and run unit tests within the IDE. It also provides quick access to compile and run Java applications.
- Integrated Development Environment: Eclipse offers a comprehensive development environment with a project management system that organizes your Java projects, files, and resources. It supports version control systems like Git, enabling collaborative development.
- Plug-in Ecosystem: Eclipse is highly extensible through its plug-in architecture. It has a vast ecosystem of plugins, including those for additional language support, tools for testing, performance analysis, and integration with other frameworks and libraries.
- User Interface Design: Eclipse includes tools like WindowBuilder that allow you to design graphical user interfaces (GUIs) using drag-and-drop components. It supports various UI frameworks such as Swing, SWT, and JavaFX.
- Documentation and Help: Eclipse provides comprehensive documentation and online resources, including tutorials, user guides, and a vibrant community of developers who actively contribute to forums and provide support.
Eclipse IDE is known for its flexibility and scalability, making it suitable for both small projects and large enterprise applications. It offers a rich set of features specifically tailored to Java development, making it a popular choice among Java developers.
Installing Eclipse
Google for eclipse download and go to the link and download the installer.
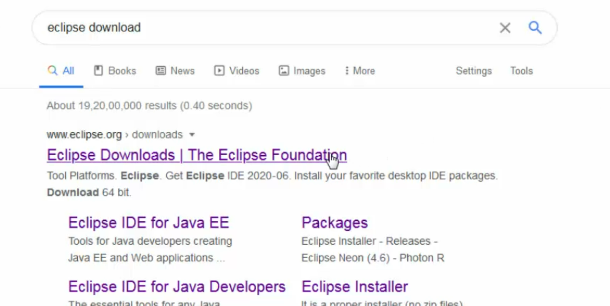
https://www.eclipse.org/downloads/ – official link for downloading Eclipse software.
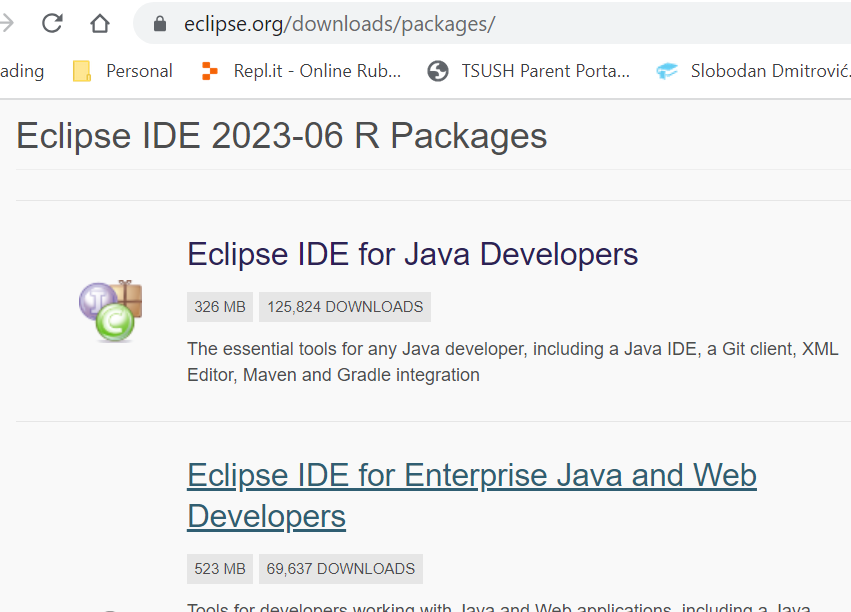
Instead of downloading installer file, go to packages section and download from there. Basically you will get a zip file which you can extract and gets the eclipse software.
Java 8 documentation –
https://docs.oracle.com/javase/8/docs/
–> ** Eclipse requires a compatible version of the Java Development Kit (JDK) to run. Make sure you have the JDK installed on your system. Set the PATH environment correctly to point to bin directory of the jdk installation.
ex : C:\Program Files\Java\jdk-1.8\bin
Check Eclipse binary and its pre-requisite Java versions.
Writing a Java Program in Eclipse
Here are the steps to write a Java program in Eclipse IDE:
- Launch Eclipse: Open the Eclipse IDE on your computer.
- Create a New Java Project: Go to “File” -> “New” -> “Java Project”. Enter a project name and click “Finish”.
- Create a New Java Class: Right-click on the project in the Package Explorer pane and select “New” -> “Class”. Enter a class name and click “Finish”.
- Write Java Code: In the newly created class file, you can start writing your Java code. For example, you can define the main method, which is the entry point of your program, as follows:
public class MyClass {
    public static void main(String[] args) {
        // Your code here
    }
}
- Write Your Java Code: Within the main method, you can write your Java code. This is where you define the logic of your program. You can use Eclipse’s code editor features, such as code completion, to assist you in writing code faster and with fewer errors.
- Save Your Java File: After writing your code, make sure to save the Java file by clicking “Ctrl + S” or going to “File” -> “Save”.
- Build and Run Your Program: To build and run your Java program, right-click within the editor area of the Java file and select “Run As” -> “Java Application” or click the “Run” button in the toolbar. Eclipse will compile your code, and the program will run in the console view or a separate console window, depending on your configuration.
That’s it! You have successfully written and executed a Java program in Eclipse IDE. You can continue to edit, build, and run your program as needed, and explore the various features and functionalities provided by Eclipse for Java development.

